The Circuit Diagram
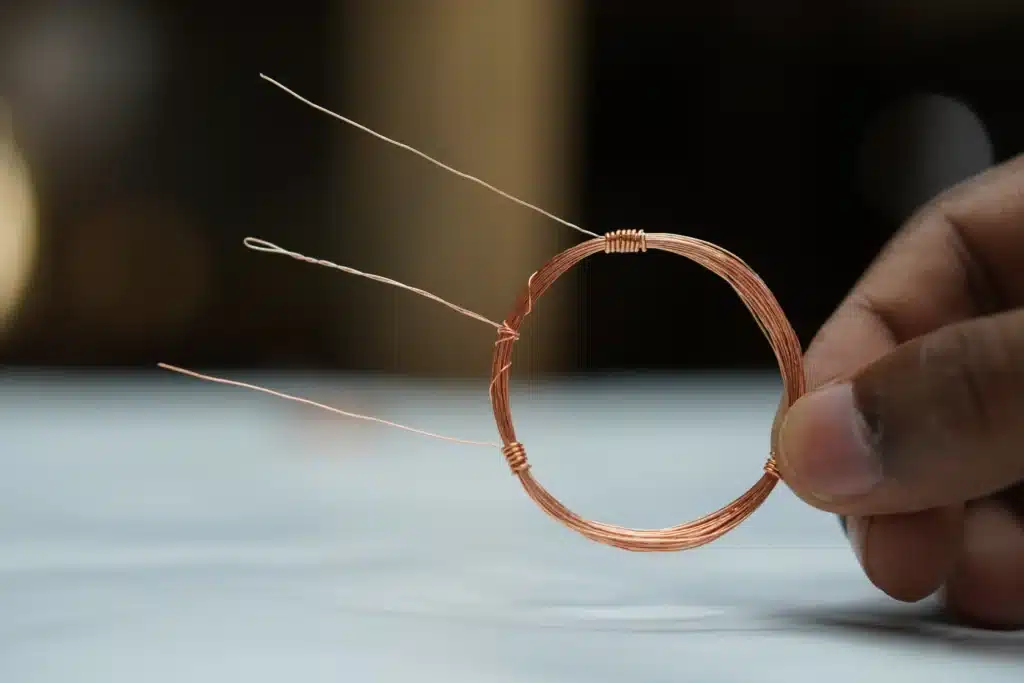
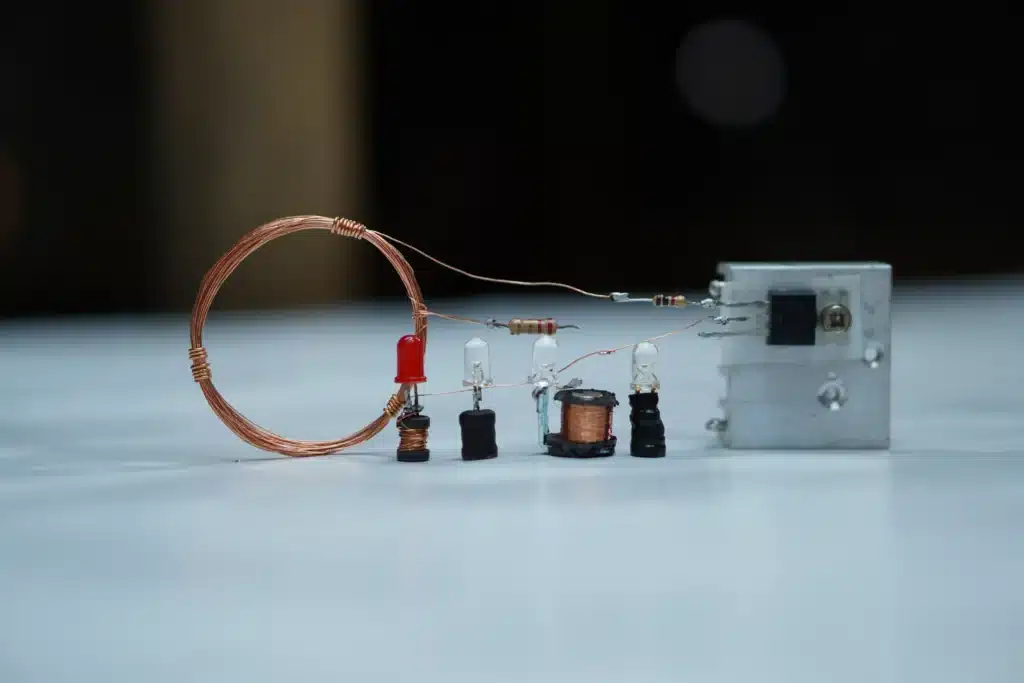
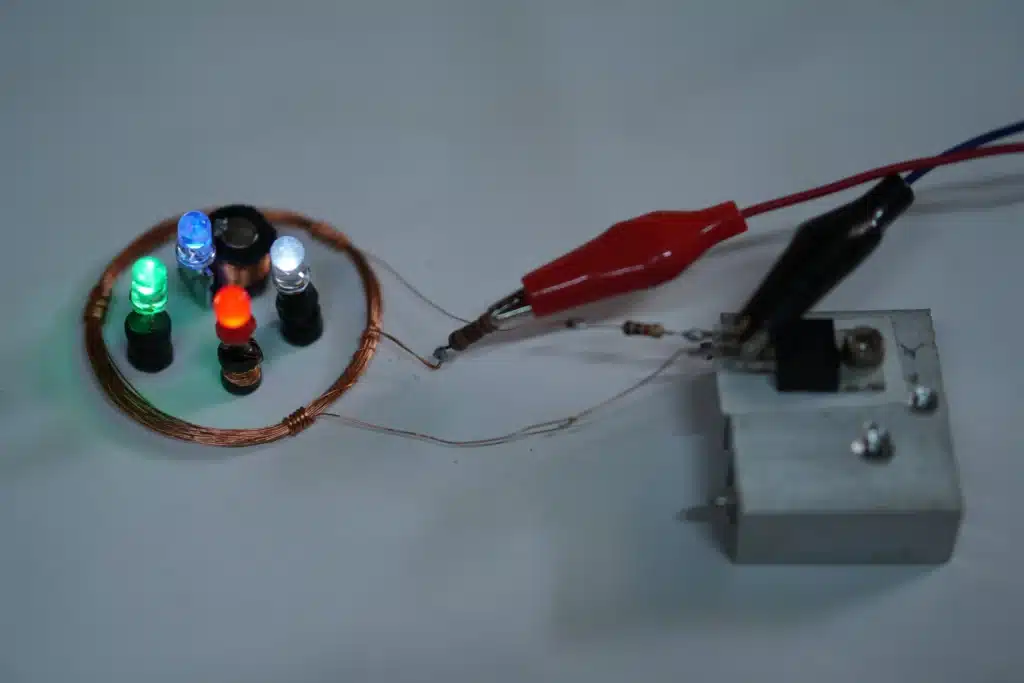
Let’s start by comprehending the wireless LED light project’s circuit schematic before we set out on this thrilling adventure. As a blueprint, the circuit diagram leads us through all of the connections and parts involved. It demonstrates the connections between the power, Lights, and wireless module to produce the needed functionality. For a clear visual representation of the circuit, see the diagram below: how LED lights function wirelessly
Gathering the Materials
After fully understanding the circuit schematic, let’s proceed to gather the supplies for our wireless LED light project. You will require the following materials to finish this project successfully:
- LED bulbs (quantity: based on your desired brightness and design)
- Arduino microcontroller
- Wireless module (e.g., Bluetooth or Wi-Fi module)
- Resistors
- Capacitors
- Transistors
- Breadboard or PCB (Printed Circuit Board)
- Jumper wires
- The power source (e.g., battery or power adapter)
- Enclosure for the LED light (e.g., acrylic or wood)
Preparing the Components
It’s essential to carefully prepare the components before starting the assembling process. To make sure your components are prepared for usage, follow these steps:
- Solder the necessary components onto the PCB if you’re using one.
- Resistor Selection: Based on the voltage and current demands of your LED bulbs, select the proper resistors. In order to make precise calculations, see the datasheets.
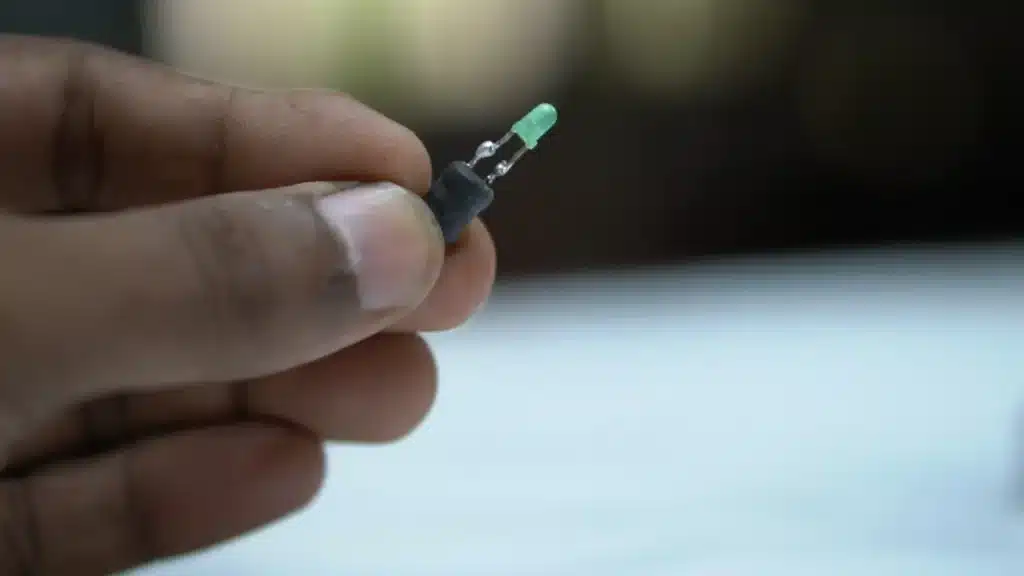
- Find the anode (the longer leg) and cathode (the shorter leg) of each LED by connecting them. All of the LEDs’ cathodes should be coupled, and their anodes should each be connected to a separate resistor.
- Remove the insulation from the ends of the jumper wires and check that they are the right length for straightforward connections.

Assembling the Circuit
- Put the Arduino on the breadboard or PCB and attach its power and ground pins to the appropriate rails to connect it.
- Attach the Wireless Module: If you’re using a wireless module, attach the TX and RX communication pins of the wireless module to the corresponding Arduino pins.
- LED Connections: Join the resistors coming from the LEDs’ anodes to the digital output pins on the Arduino. Make sure each LED is wired to a different pin.
- Ground Connections: Join the power source’s ground pin and the cathodes of the LEDs to the breadboard’s or PCB’s common ground rail.
- Power connections: Join the Vin pin of the Arduino with the positive terminal of the power source, and the ground pin with the negative terminal.
Testing the Circuit
It’s time to test the circuit’s operation now that it has been put together.
- Upload the Code: To control the LEDs, write a short Arduino program. Online examples of codes are available, or you can write your own. Using the Arduino IDE, upload the code to the Arduino.
- Switch on the power supply, then see if the LEDs light up as specified by the code. Make sure the wireless module is powered appropriately as well.
- Test your wireless module’s functioning if you’re using one by sending commands from a compatible device. Check to see if the LEDs react as expected.
Building the LED Light
Now that the circuit has been verified to work, it’s time to construct the LED light box. As you design and build the physical casing for your wireless LED light, let your imagination shine. To make your vision a reality, take into account utilising materials like wood or acrylic. Make sure the enclosure allows for efficient heat dissipation and gives the components enough room. Control and compatibility for wireless led light strips powered by batteries. intelligent led light bulbs

Powering the Wireless LED Light
You have a few choices for powering your wireless LED light.
- Battery Power: Use a rechargeable battery pack or individual batteries to power the circuit if you want a portable LED light. Make that the battery’s voltage and current ratings meet the requirements of your circuit.
- Power Adapter: To provide the necessary voltage and current for a stationary LED light, use a power adapter. Ensure that the output of the adapter meets the needs of your circuit.

Enhancing the Design
- Diffusion: Cover the LEDs with a diffuser material, such as frosted acrylic, to provide a softer and more even light.
- Experiment with various enclosure designs, hues, and materials to find the ones that most suit your aesthetic or that go well with the setting where the LED light will be used.
- Customization: Add distinctive details to your LED light, such as laser-cut patterns or 3D-printed accessories.
###circuit diagram###
Troubleshooting Tips
- Verify Connections: Verify that each connection in your circuit is solid and positioned correctly.
- Make sure your power source is producing the right voltage and current by checking the power supply. Unexpected behavior can result from faulty power supplies.
- Code debugging: Check your code for any potential flaws or inconsistencies if your wireless LED light is not reacting as you would expect.
- Make that all of the components are compatible with one another and capable of handling the necessary voltage and current.
Conclusion
Congratulations! You’ve mastered the art of creating a wireless LED light from scratch. You now have the ability to illuminate your surroundings with convenience and originality by comprehending the circuit design, putting the parts together, and creating a wireless connection. Go ahead and try out various designs, functions, and controls now to tailor your wireless LED light to your liking. Prepare yourself to shine with your own DIY masterpiece!
FAQ
How long does it take to make a wireless LED light?
The complexity of the design and your level of skill will determine how long it takes to construct a wireless LED light. The project could take anywhere from a few hours to a few days to finish on average.
Can I control multiple LED lights using one wireless module?
Indeed, a single wireless module can operate numerous LED lights. To fit the extra Lights, you might need to adjust the circuit and the code, though.
Can I use my smartphone to control the wireless LED light?
Absolutely! You may operate your wireless LED light from your smartphone or other smart devices by using a suitable app or creating a Bluetooth or Wi-Fi connection.
Can I use different types of LEDs for my wireless LED light?
Absolutely, you may create various lighting effects using different types of LEDs, such as RGB LEDs or high-intensity LEDs. Simply make sure that their voltage and current characteristics match those of your circuit.
Are there any safety precautions I should follow while working on this project?
When working with electronics, safety must come first. To prevent damage or injury, make sure to turn off the power source before making any circuit adjustments, stay away from short circuits, and handle components carefully.
Can I add a motion sensor to the wireless LED light?
Certainly! The LED light may be made to automatically turn on when motion is sensed by adding a motion sensor. Applications like security lighting or automatic room illumination benefit especially from this.