Click the Link to View 200 Photos of the Complete CNC Project. the Photos Were Taken During the Video Production Process.
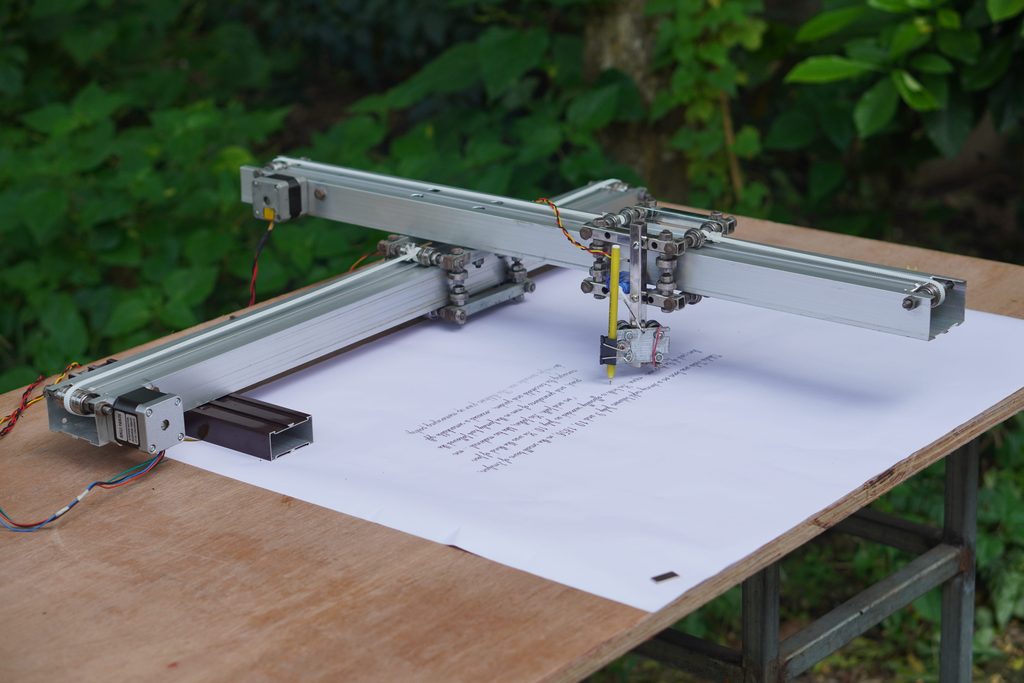
CNC Servo Motor up and Down M03 S50 || M05 S50 NOT WORKING PROBLEM SOLVED
To solve GRBL servo motor up and down problems, you must first confirm that standard GRBL does not support RC servo motors (like the SG90) for the Z-axis by default. You need a modified version of GRBL and specific G-code commands. [1, 2, 3, 4]
1. Update Firmware to a Servo-Compatible Version [5]
Standard GRBL sends step/direction signals meant for stepper motors, not the PWM signal a hobby servo needs. [6]
- Download Modified GRBL: Use a version like Grbl_Pen_Servo or MIGRBL.
- Configuration: These versions often treat Z-axis movements above 0 ($Z > 0$) as “Pen Up” and ($Z < 0$)as “Pen Down”. [3, 7, 8, 9, 10]
PEN up = Z0
PEN DOWN = Z0.2
DIY CNC Handwriting Machine – A Complete Step‑by‑Step Guide
Introduction
CNC (Computer Numerical Control) machines are the backbone of modern manufacturing. They automate precision tasks like cutting, engraving, and milling. But CNC principles can also be applied to creative projects at home. One such project is a handwriting CNC machine — a device that can automatically write text, draw patterns, or engrave surfaces. This guide will walk you through every aspect of building one, from the mechanical OR
frame to software calibration, using the Arduino Uno as the controller.
⚙️ Theory Behind CNC Handwriting
- Cartesian Coordinates: The machine moves in X, Y, and Z directions.
- G‑code: A universal language for CNC machines, defining paths and actions.
- Stepper Motor Control: Motors move in discrete steps, allowing precise positioning.
- Servo Actuation: A servo lifts and lowers the pen, simulating handwriting.
🛠️ Components in Detail
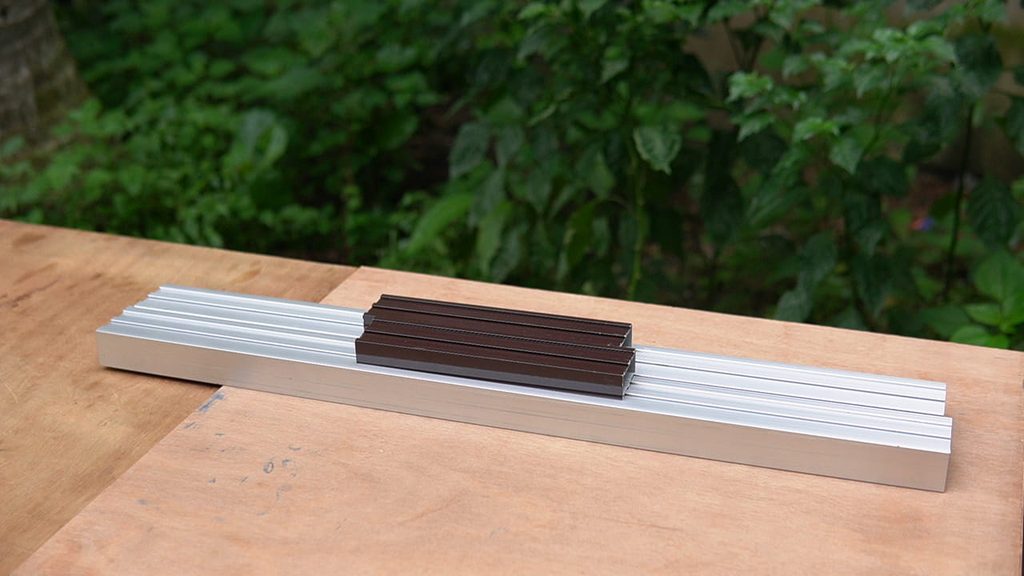
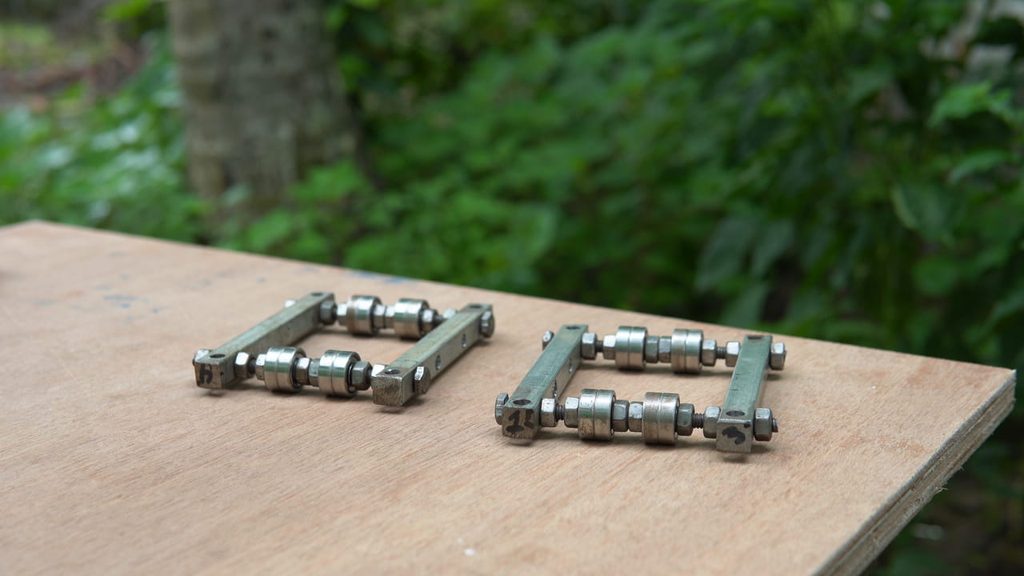
- Frame: Aluminum profiles
- Motors: NEMA 17 stepper motors.
- Controller: Arduino Uno with GRBL firmware.
- Drivers: A4988 or DRV8825.
- Power Supply: 12V DC, 2A+.
- Pen Mount: Servo‑controlled clamp.
- Software: Inkscape, CAM plugin, Universal G‑code Sender.
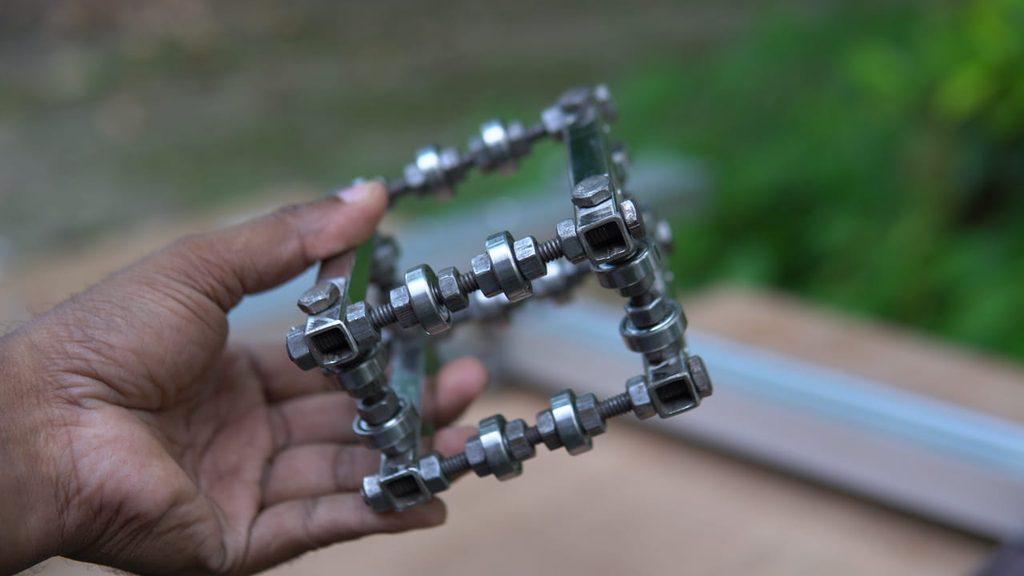
🔧 Step‑by‑Step Assembly Guide
Here’s a structured breakdown of the build process:
1, Build the Frame
Setup Create a rigid base to minimize vibrations.
- Use aluminum profiles or wooden boards
- Ensure the frame is square and level
- Add cross supports for stability
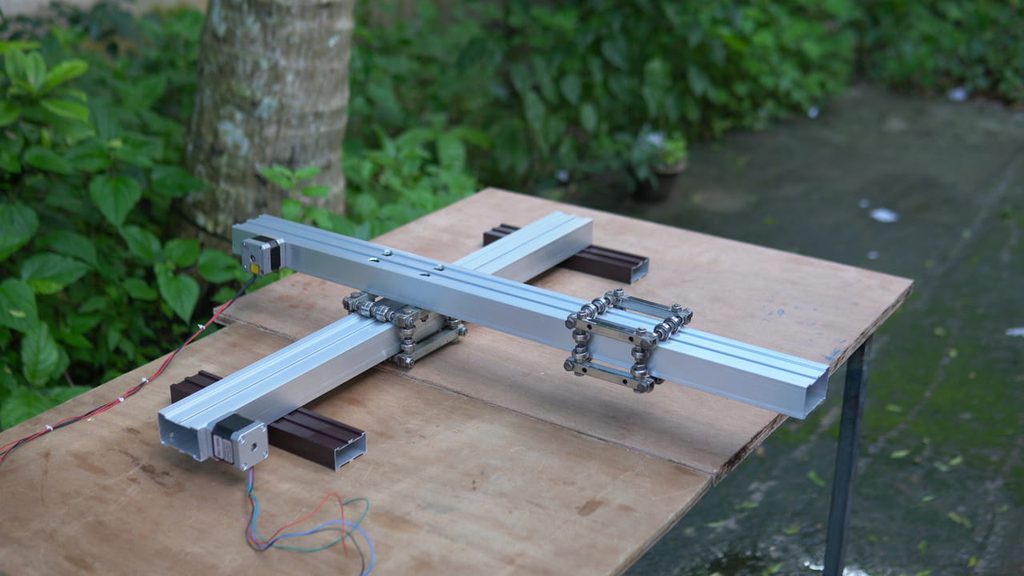
2, Mount Stepper Motors
Attach motors to control X and Y axes.
- Use NEMA 17 stepper motors
- Align motors with lead screws or belts
- Secure with brackets
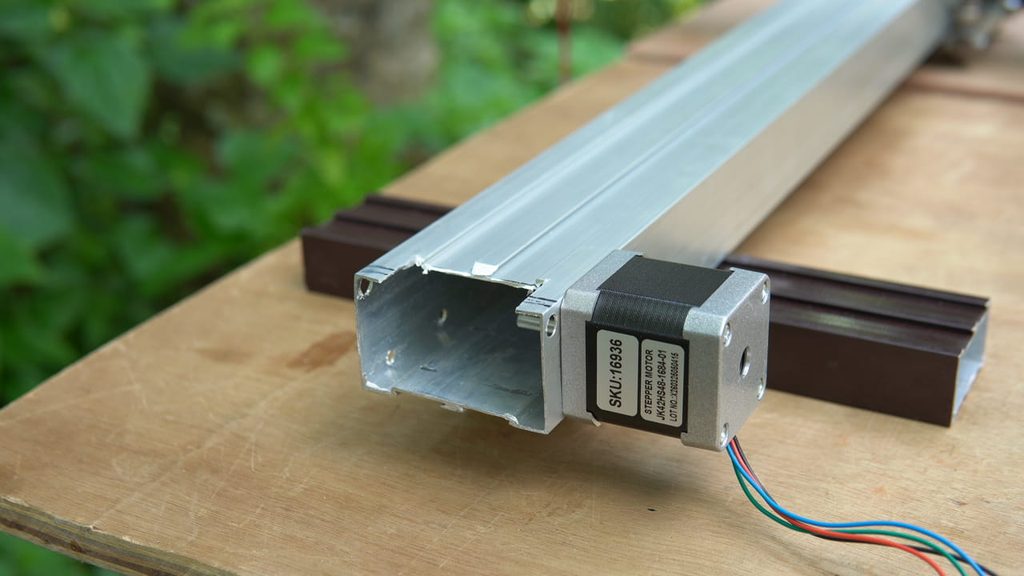
3, Install Lead Screws or Belts
Provide linear motion for the axes.
- Connect lead screws to motor shafts
- Use couplers for alignment
- Alternatively, use GT2 timing belts
4, Attach Pen Mount
Enable handwriting functionality.
- Build a clamp for the pen
- Connect a servo motor for lifting
- Test pen up/down movement
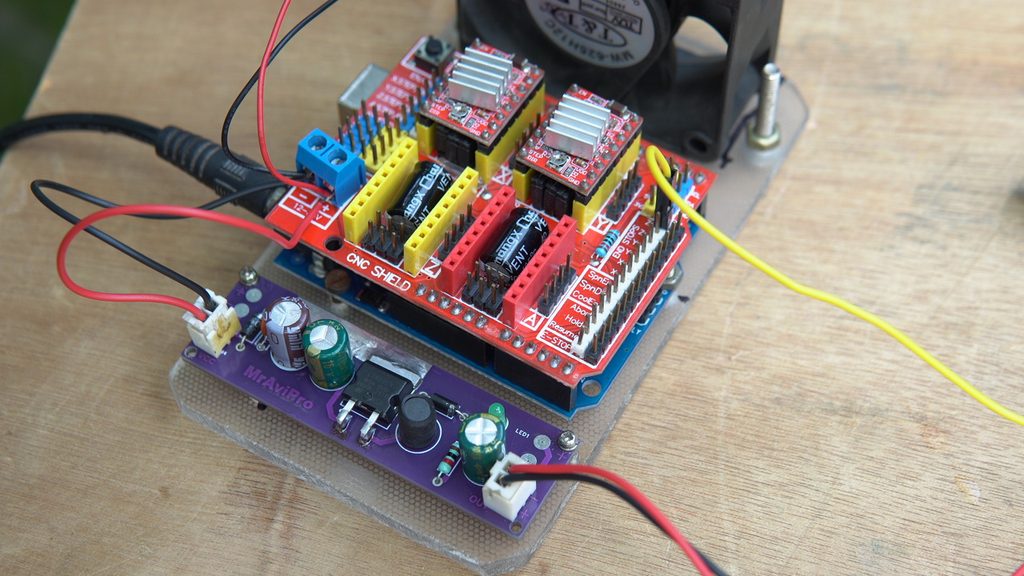
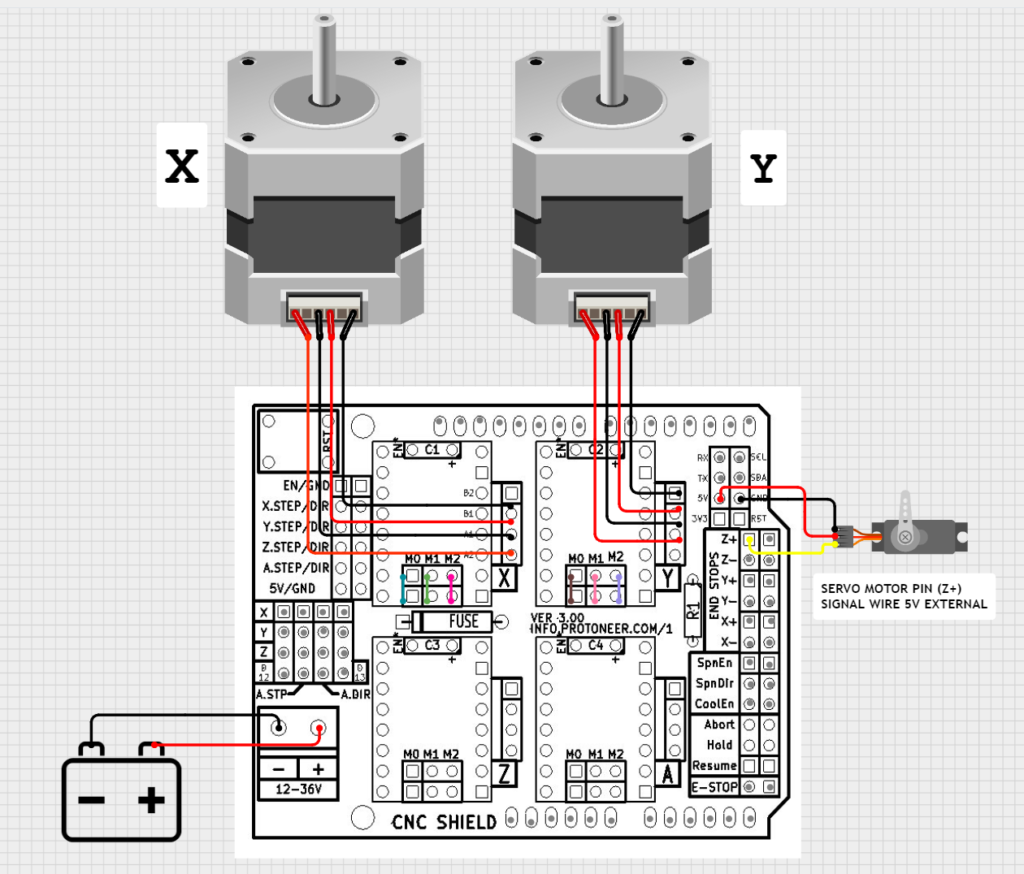
5, Wire Electronics
Safety Connect motors, drivers, and controller.
- Connect stepper motors to A4988/DRV8825 drivers
- Wire drivers to Arduino Uno
- Connect servo to PWM pin
- Use 12V DC power supply
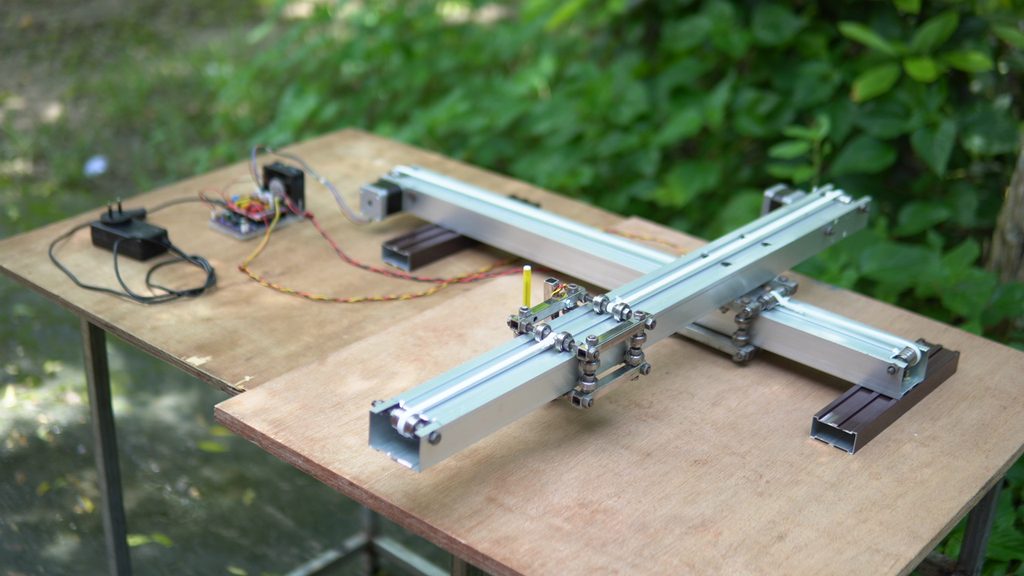
6, Upload GRBL Firmware
Prepare Arduino Uno for CNC control.
- Install Arduino IDE
- Flash GRBL firmware to Arduino Uno
- Verify installation
7, Install Control Software
Set up PC software for G‑code execution.
- Install Universal G‑code Sender
- Connect Arduino via USB
- Test communication
8, Calibrate Machine
Ensure accuracy of movements.
- Set steps per mm in GRBL
- Adjust motor current
- Test small square patterns
9, Run Test Jobs
Recommended Verify handwriting functionality.
- Generate text in Inkscape
- Convert to G‑code
- Send to machine
- Observe pen writing
🧪 Troubleshooting
- Distorted Letters: Recalibrate steps per mm.
- Smudging: Adjust pen pressure.
- Skipping Steps: Increase motor current or reduce speed.
- Misalignment: Check frame rigidity.
🌟 Creative Applications
- Personalized cards.
- Artistic patterns.
- Engraving with laser upgrade.
- Classroom demonstrations.
🚀 Future Upgrades
- Wi‑Fi control with ESP32.
- Multi‑tool head (pens, markers, engravers).
- AI handwriting mimicry.
Conclusion
Building a DIY CNC handwriting machine is a rewarding project that blends mechanical engineering, electronics, and programming. With patience and creativity, you can create a machine that not only automates handwriting but also opens doors to engraving, art, and design projects.
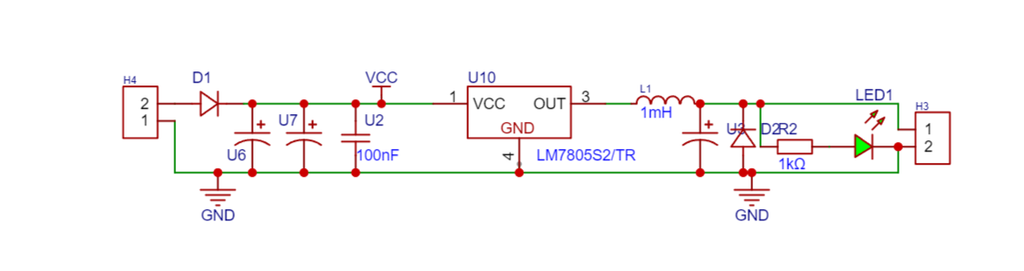
Gerber File DOWNLOADS
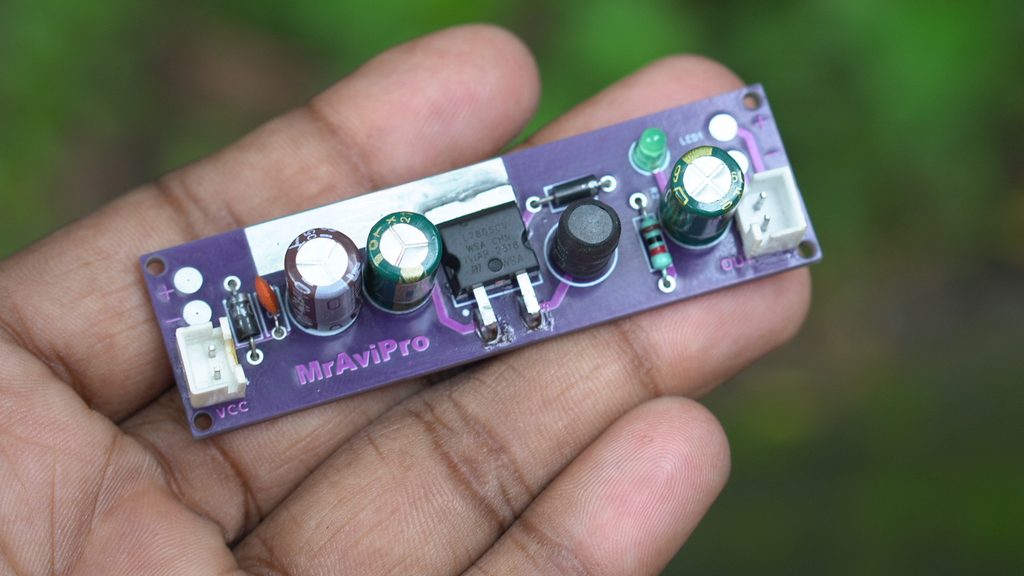
This circuit is used solely to operate the servo motor. Although the CNC shield’s output voltage is 5V, connecting the servo motor causes the Arduino Uno to reset. I encountered this issue, and the solution is to power the servo motor using an external 5V input.
12v in – Out 5v
- diode 1n4007
- capacitor 25v 470uf
- ceramic 100nf – 104pf
- 7805 ic
- inductor 1mh
- led
- 1k resistor
Muy buen trabajo.
excelente felicitaciones.